> ## Documentation Index
> Fetch the complete documentation index at: https://docs.4minds.ai/llms.txt
> Use this file to discover all available pages before exploring further.
# Quick Start Guide
> Get started with 4MINDS by building and testing your first AI model in minutes. This guide walks you through the essential steps.
## Create a 4MINDS account
Go to the [4MINDS website](https://app.4minds.ai/) and sign up for a free account.
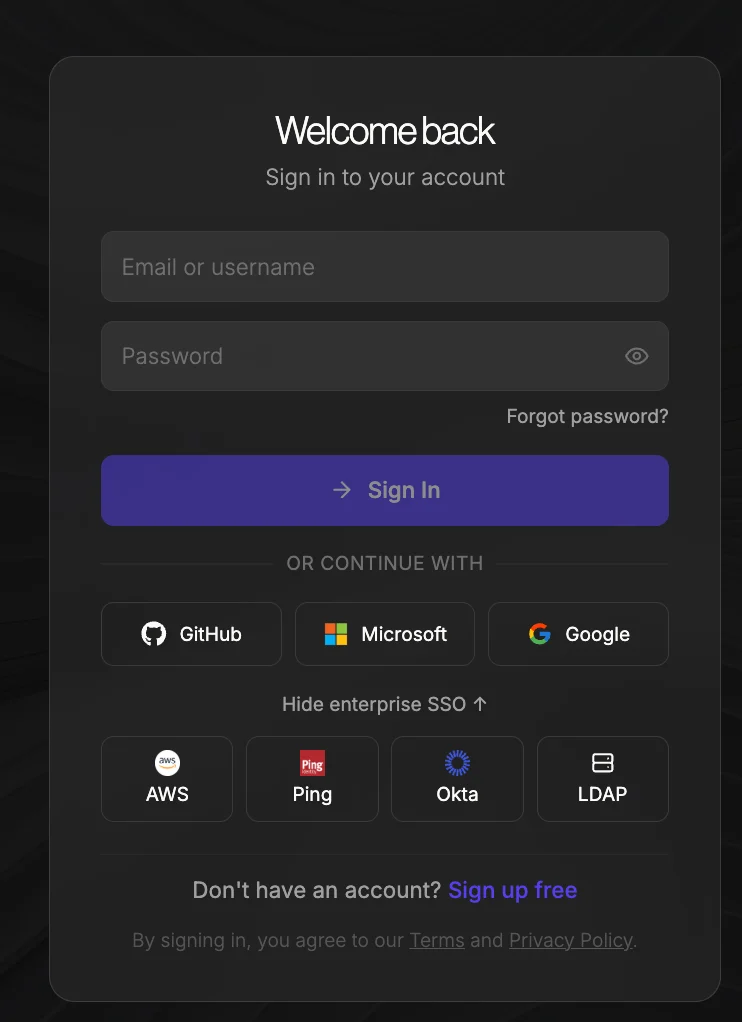
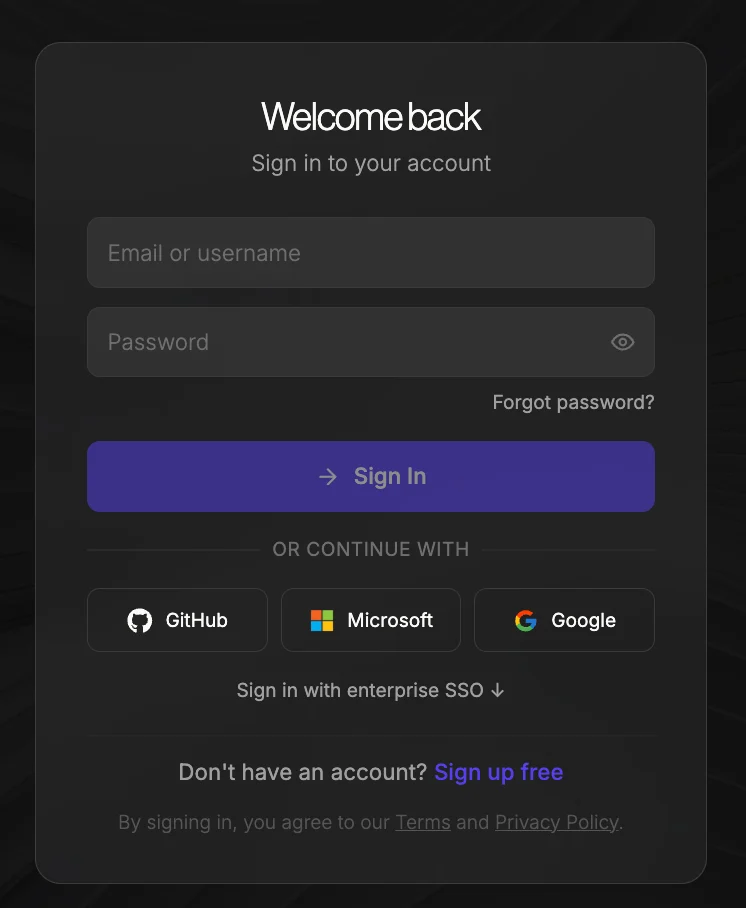 You can sign up quickly using Single Sign-On with your Google, Microsoft, GitHub, AWS, Ping Identity, Okta, or LDAP account.
To view all available Enterprise SSO sign-in options, click **Sign in with Enterprise SSO** on the sign-in page.
You can sign up quickly using Single Sign-On with your Google, Microsoft, GitHub, AWS, Ping Identity, Okta, or LDAP account.
To view all available Enterprise SSO sign-in options, click **Sign in with Enterprise SSO** on the sign-in page.
 ## Create your first model
After logging in, navigate to the **Models** tab.
## Create your first model
After logging in, navigate to the **Models** tab.

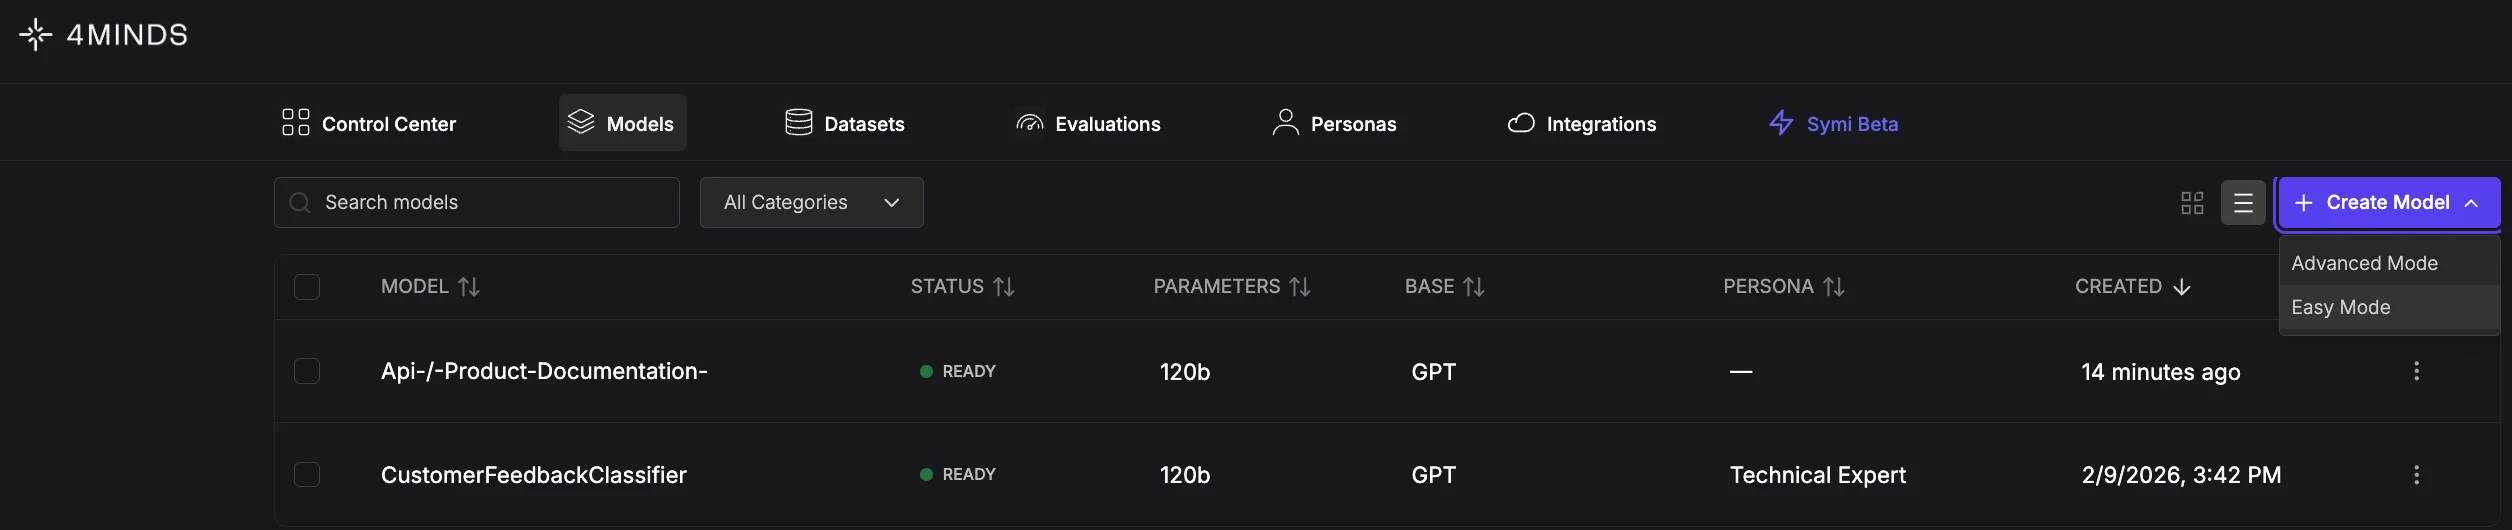 Click the '**Create Model**' button dropdown and select '**Easy Mode**' to begin setting up your model.
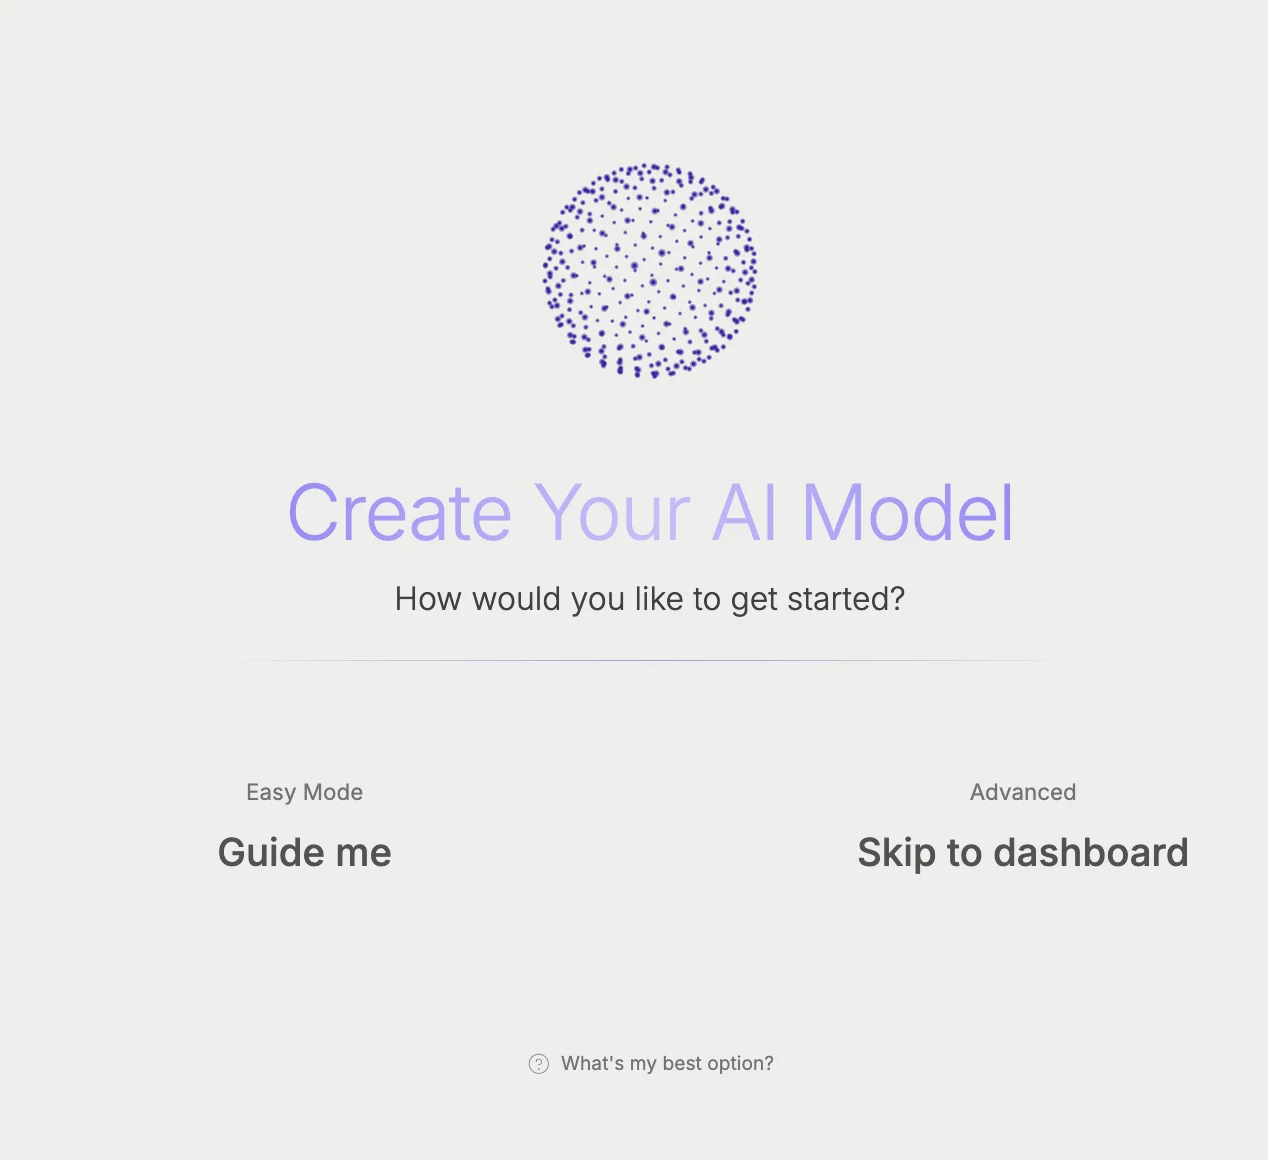
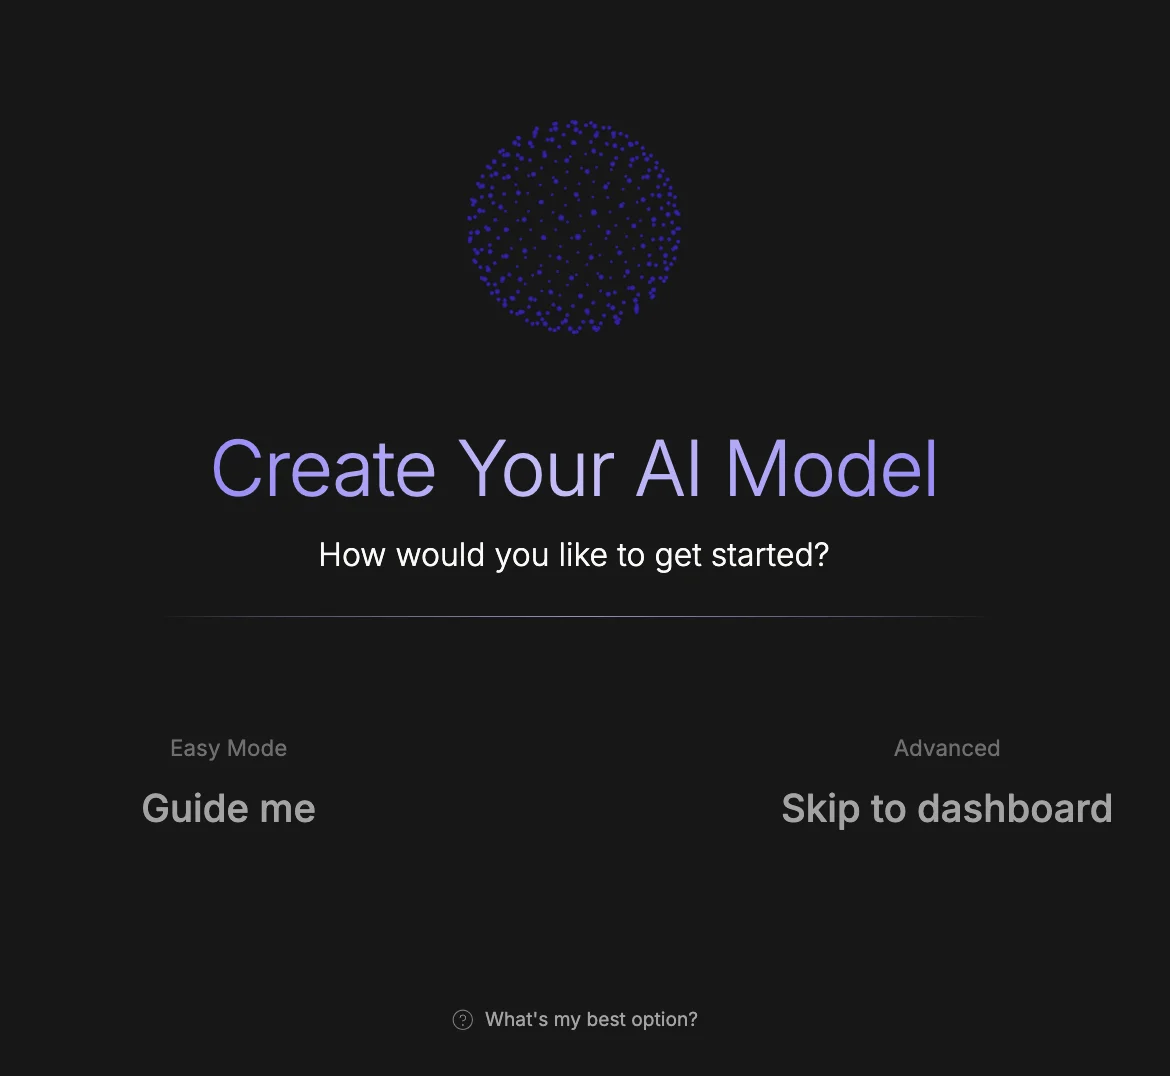
You'll be redirected to the **Create your AI model** screen. Click the '**Guide me**' text to continue.
Click the '**Create Model**' button dropdown and select '**Easy Mode**' to begin setting up your model.
You'll be redirected to the **Create your AI model** screen. Click the '**Guide me**' text to continue.
 ## Easy Mode Setup Flow
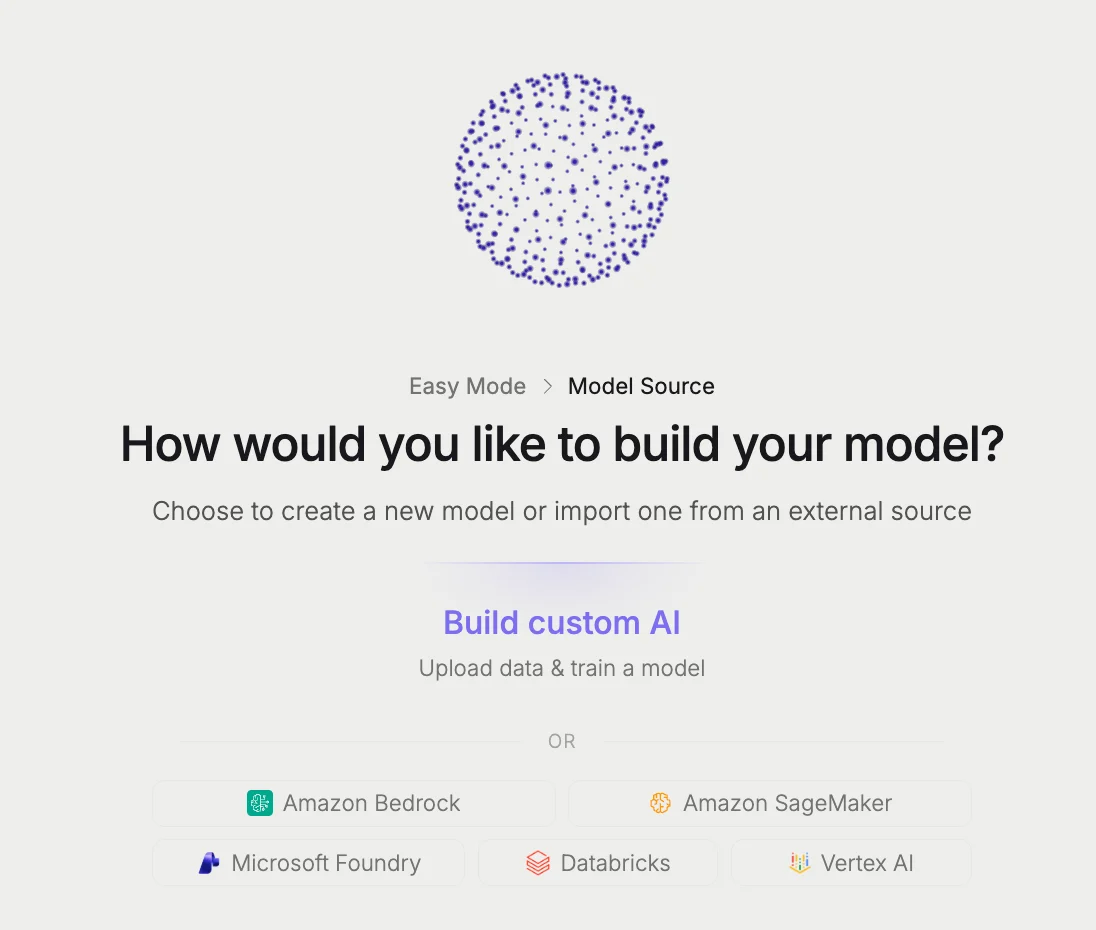
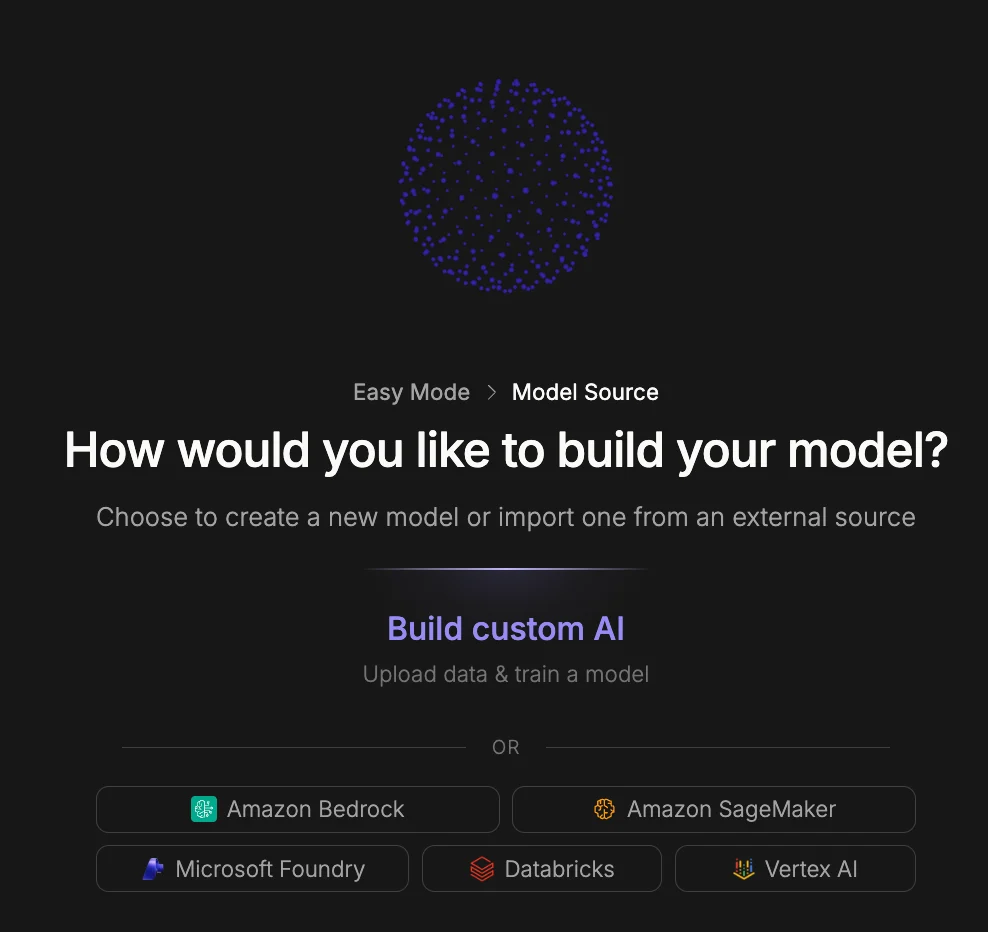
1. You'll be redirected to the **How would you like to build your model?** screen. Choose between building a **Custom AI** from scratch or importing a pre-existing model. Select **Build** **custom AI** to continue.
## Easy Mode Setup Flow
1. You'll be redirected to the **How would you like to build your model?** screen. Choose between building a **Custom AI** from scratch or importing a pre-existing model. Select **Build** **custom AI** to continue.
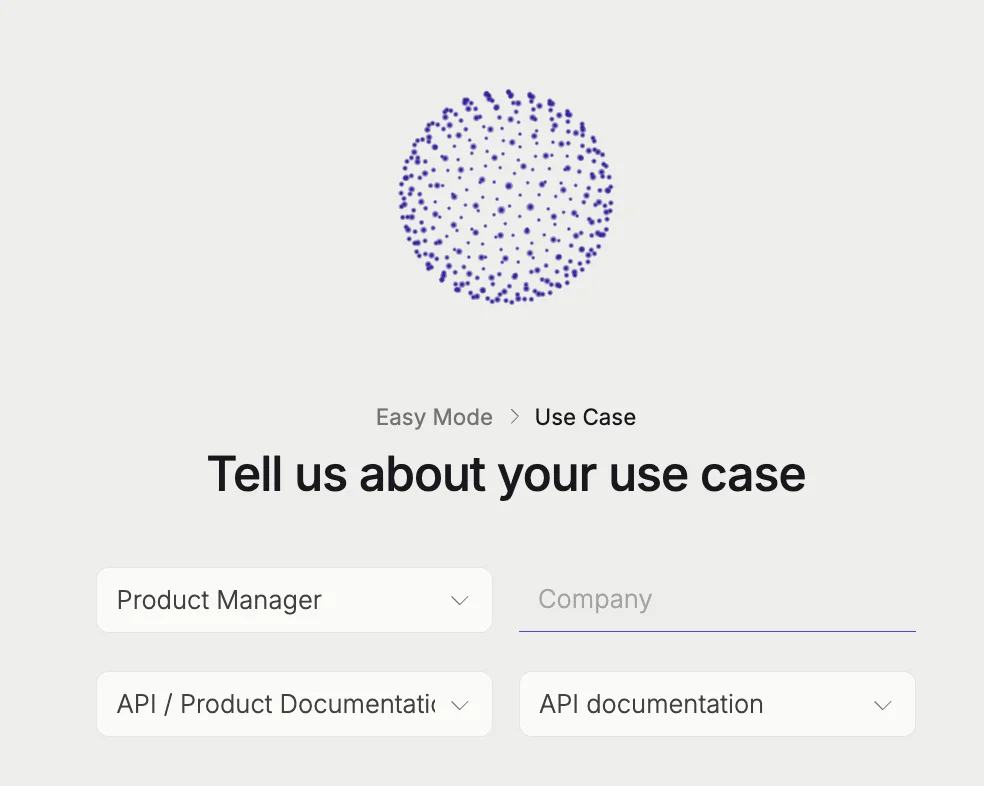
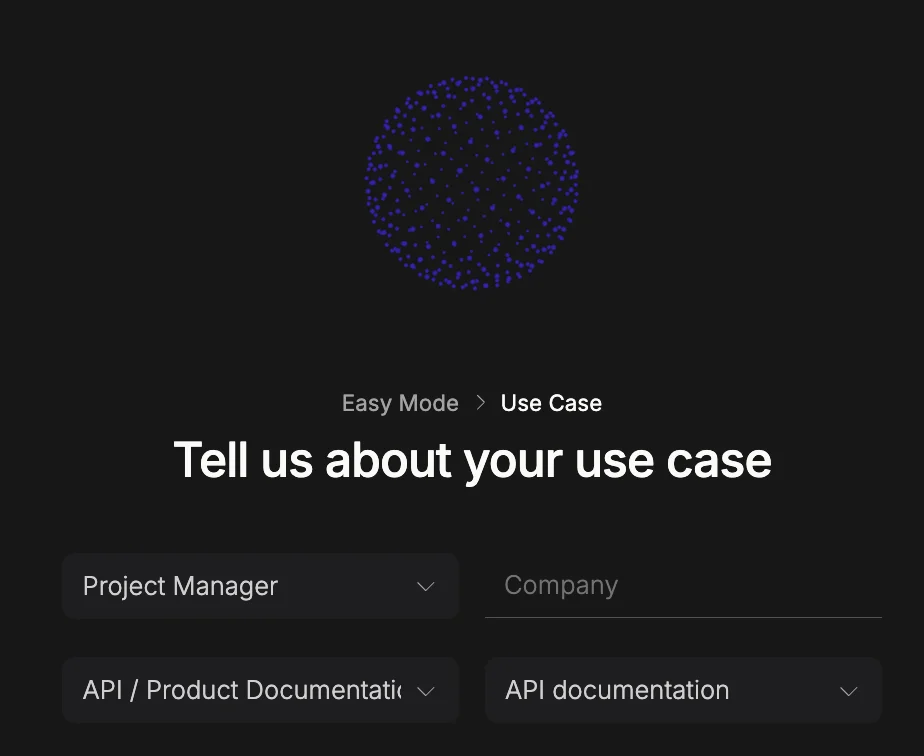
 2. On the next screen, provide details about how you plan to use your AI model so the platform can tailor its recommendations to your needs. Fill in the following fields:
* **Role** (dropdown) — Select your job role or title. This helps the platform understand your technical background and personalize the setup experience accordingly.
* **Company** (text field) — Enter the name of your organization or company.
* **I want an AI for...** (dropdown) — Select the primary purpose or task you want your AI model to perform (e.g., customer support, data analysis, content generation).
* **Using...** (dropdown) — Select the type of data or content your model will work with. Once all fields are completed, proceed to the next step. This information is used to guide configuration recommendations and does not limit your options later.
2. On the next screen, provide details about how you plan to use your AI model so the platform can tailor its recommendations to your needs. Fill in the following fields:
* **Role** (dropdown) — Select your job role or title. This helps the platform understand your technical background and personalize the setup experience accordingly.
* **Company** (text field) — Enter the name of your organization or company.
* **I want an AI for...** (dropdown) — Select the primary purpose or task you want your AI model to perform (e.g., customer support, data analysis, content generation).
* **Using...** (dropdown) — Select the type of data or content your model will work with. Once all fields are completed, proceed to the next step. This information is used to guide configuration recommendations and does not limit your options later.
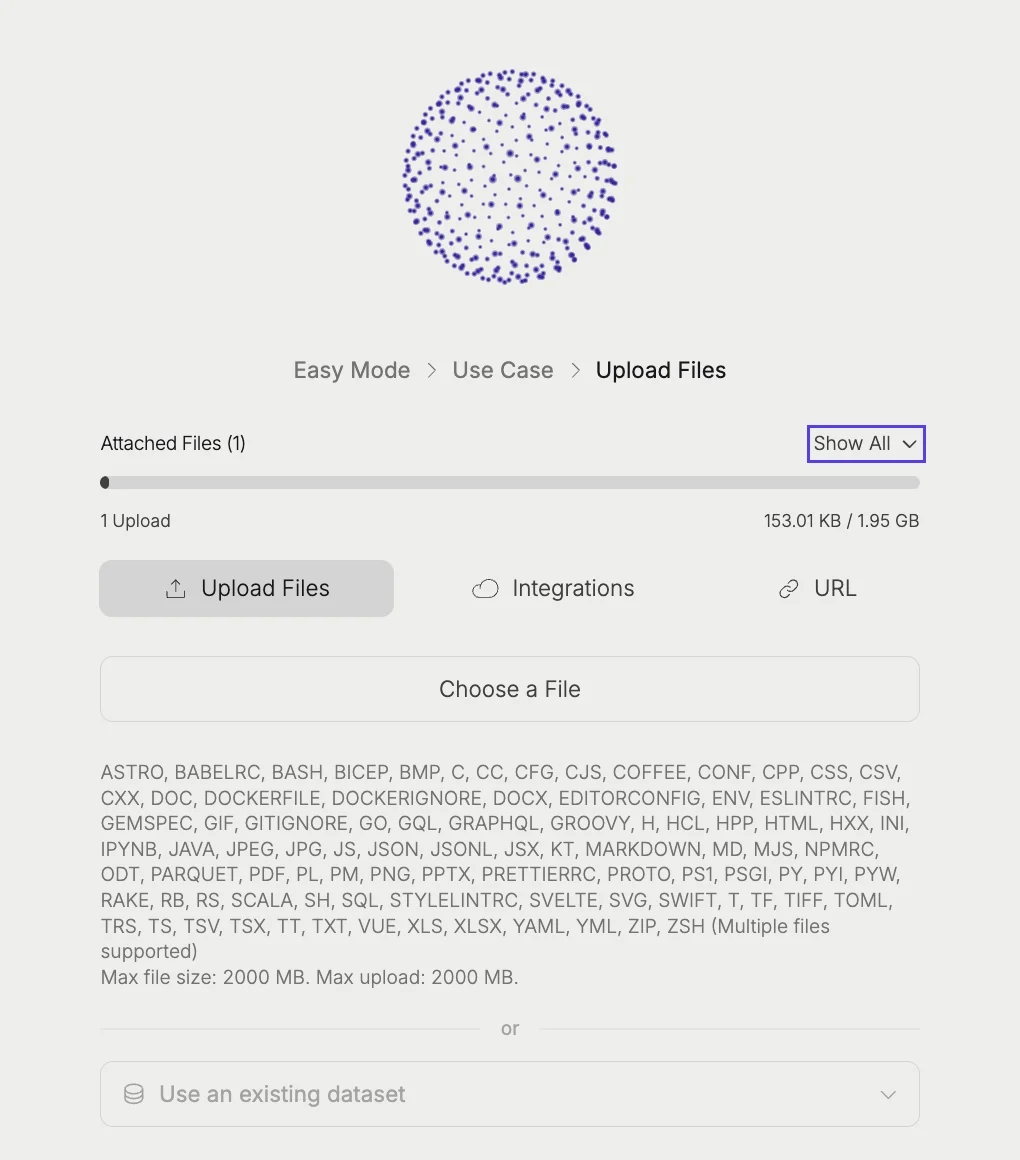
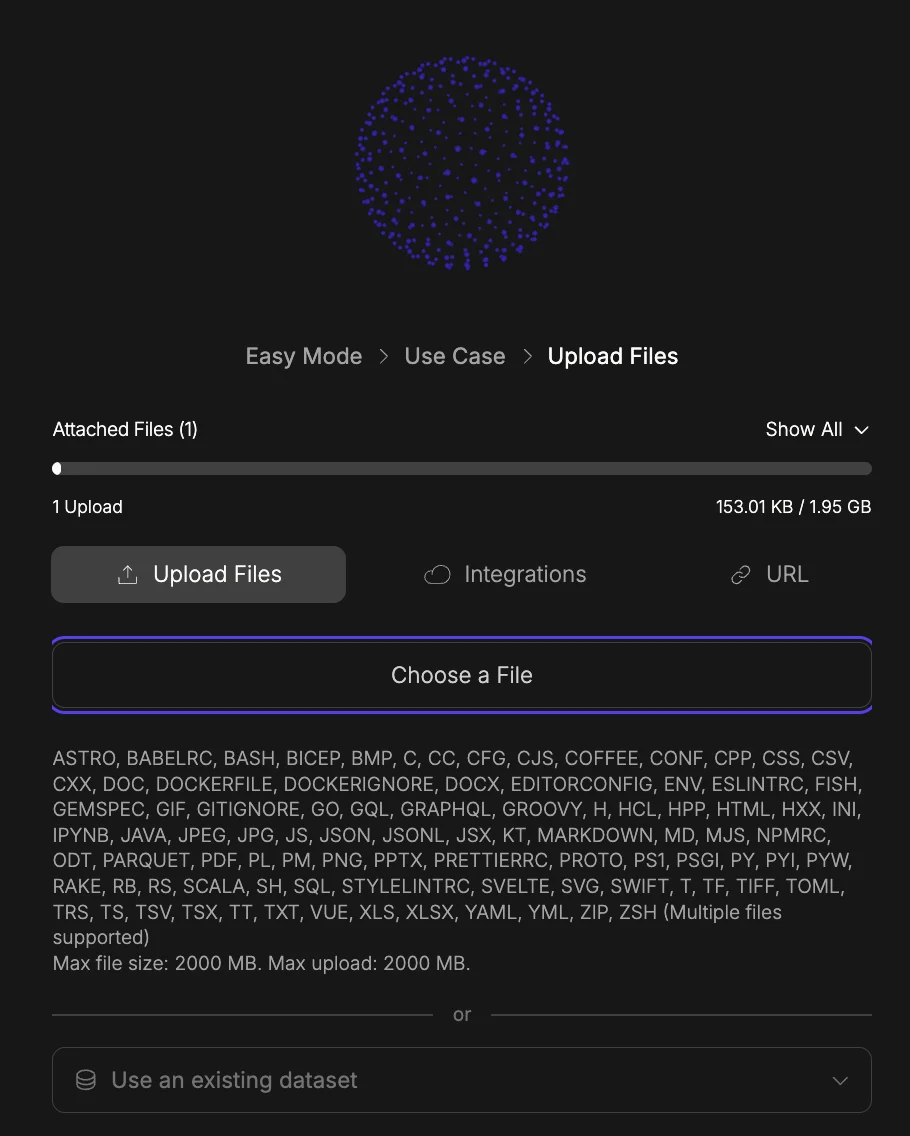
 3. This screen is where you provide the data your AI model will learn from. You can supply your data in three ways, selectable via the tabs at the top:
* **Upload Files** (default tab) — Click **Choose a File** to browse and upload files from your device. Multiple files are supported.
* [**Integrations**](https://docs.4minds.ai/integrations) (tab) — Connect to an external data source or cloud storage integration instead of uploading files manually.
* **URL** (tab) — Provide a web URL to pull content from directly. Alternatively, at the bottom of the screen you can select **Use an existing dataset** from the dropdown if you have previously uploaded data you'd like to reuse. Click the '**Upload Files**' button to proceed.
3. This screen is where you provide the data your AI model will learn from. You can supply your data in three ways, selectable via the tabs at the top:
* **Upload Files** (default tab) — Click **Choose a File** to browse and upload files from your device. Multiple files are supported.
* [**Integrations**](https://docs.4minds.ai/integrations) (tab) — Connect to an external data source or cloud storage integration instead of uploading files manually.
* **URL** (tab) — Provide a web URL to pull content from directly. Alternatively, at the bottom of the screen you can select **Use an existing dataset** from the dropdown if you have previously uploaded data you'd like to reuse. Click the '**Upload Files**' button to proceed.
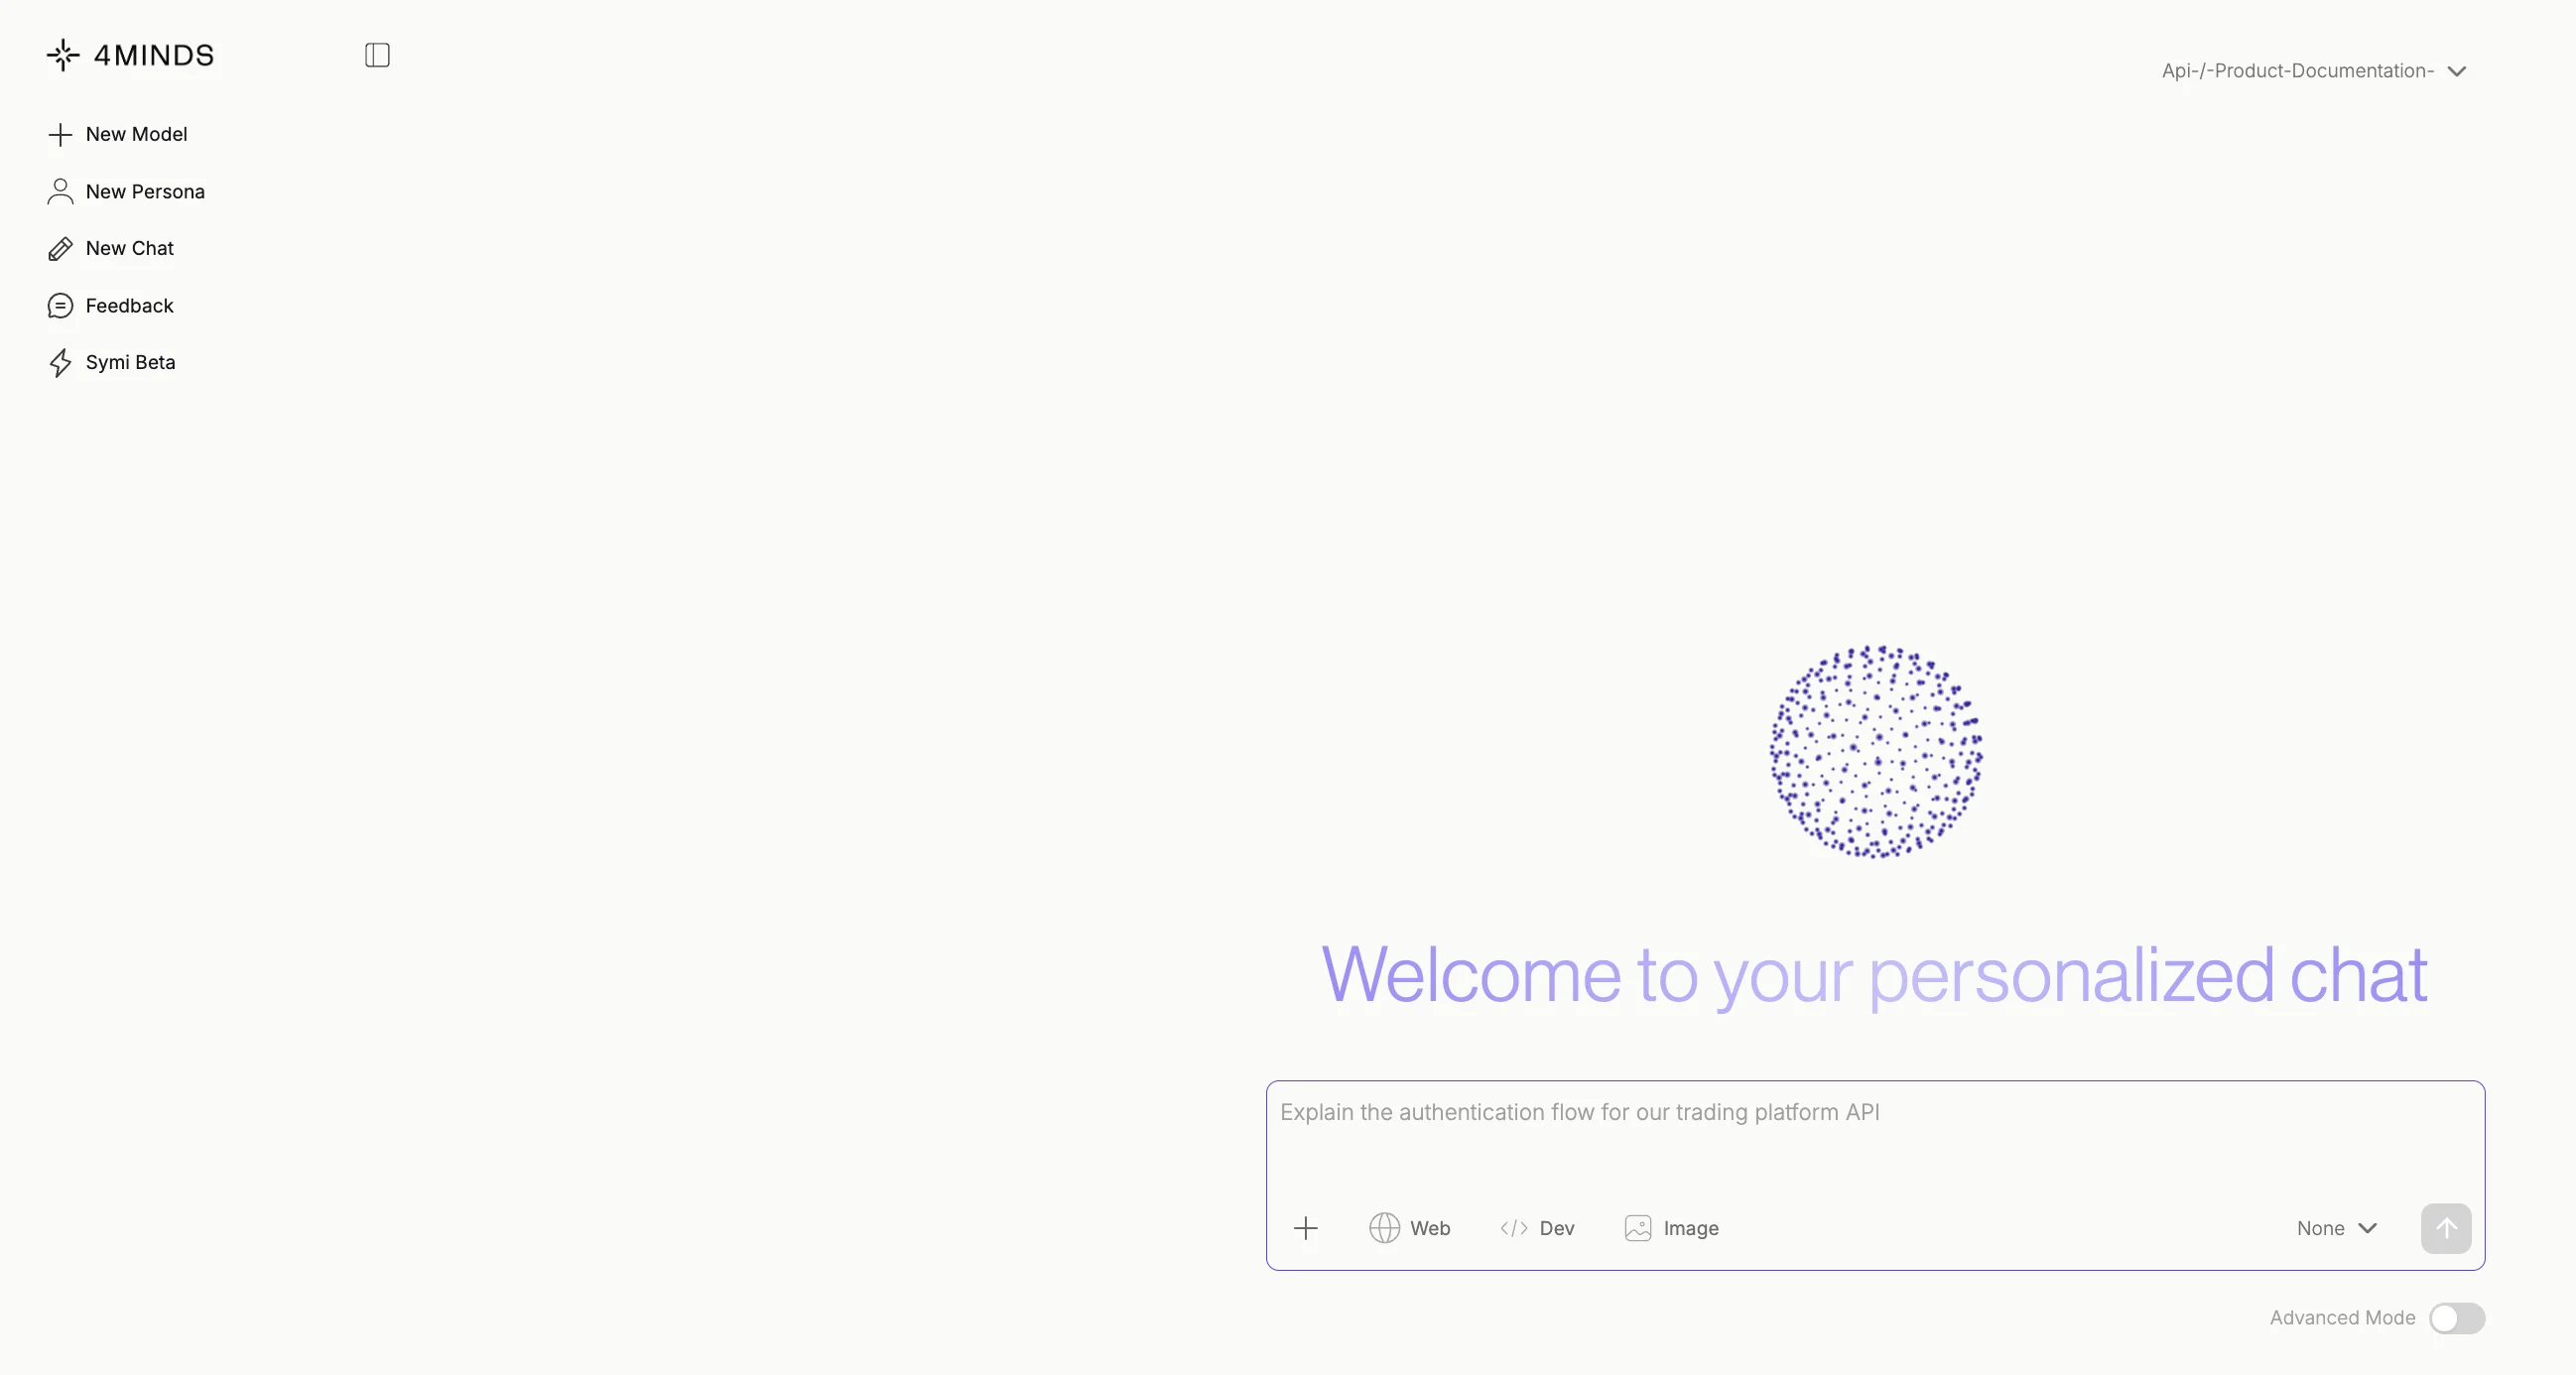
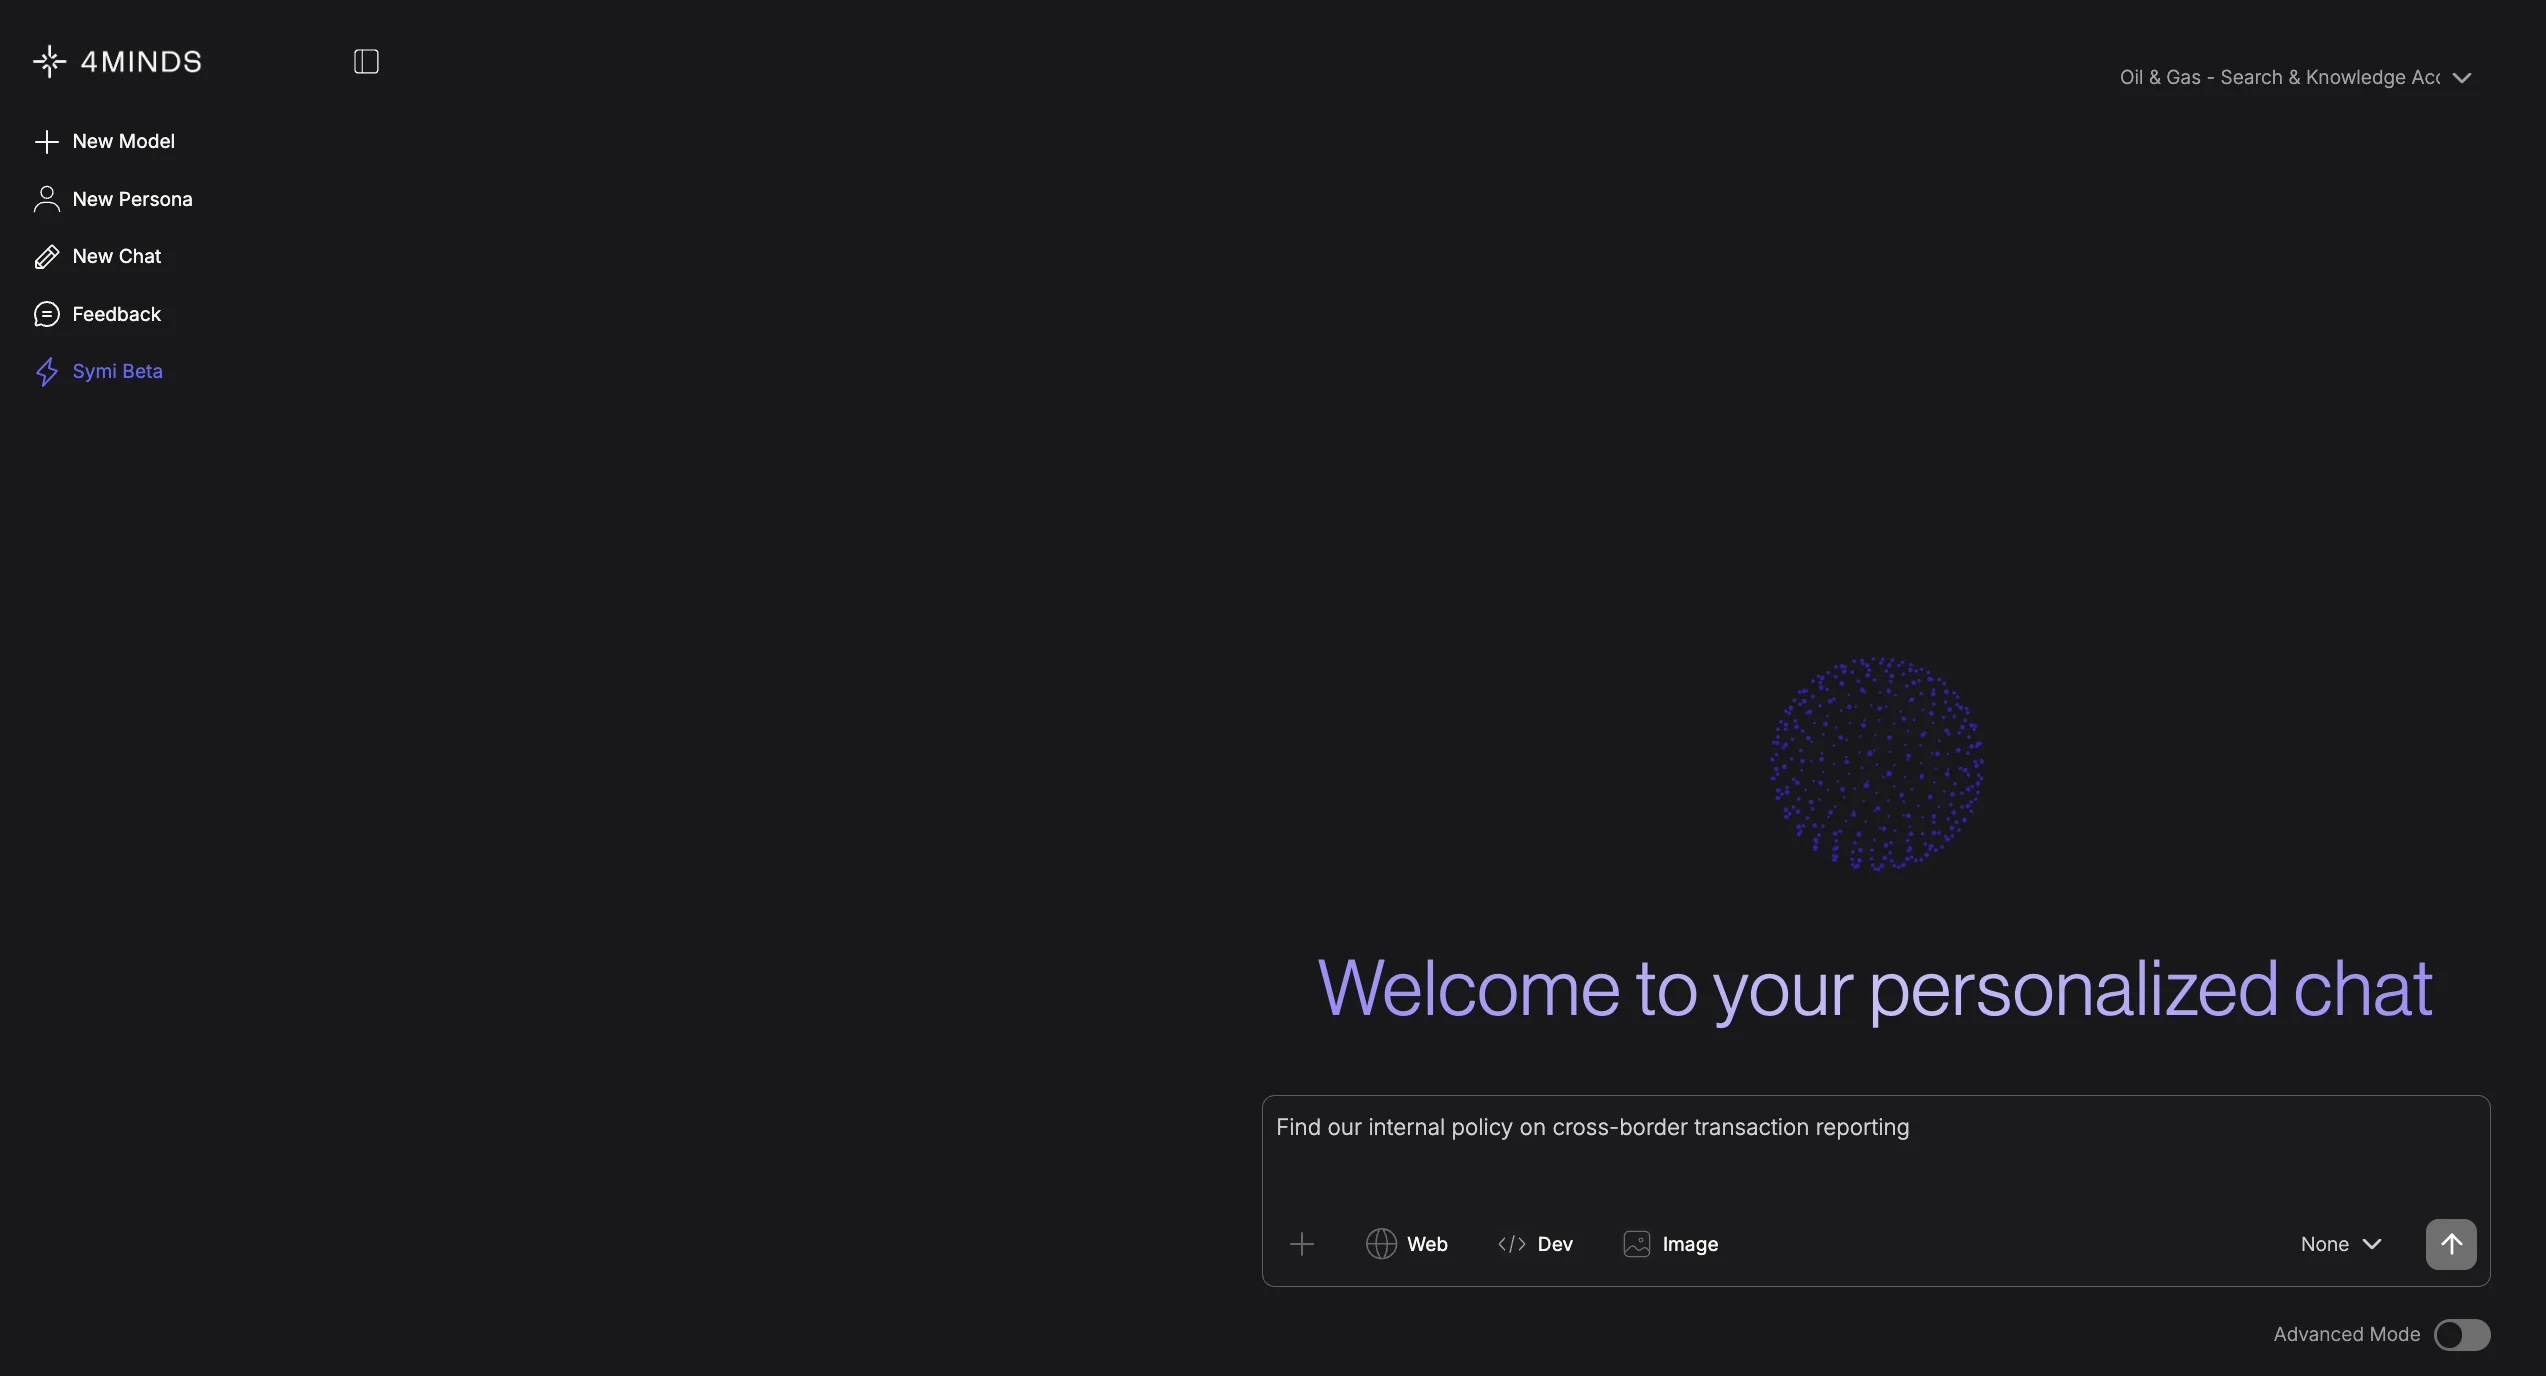
 4. Once your model is set up, you interact with it in the **Personalized Chat Screen**. Key elements include:
* **Sidebar** — Create new models, personas, or chat sessions, and access Feedback and Symi Beta.
* **Top Right dropdown** — Shows and switches your active model.
* **Chat Input** — Type your prompt and use the **Web**, **Dev**, and **Image** toggles to enhance your query. Select a persona from the **None** dropdown, or enable **Advanced Mode** for greater control.
Sample prompts to get started:
* "Explain the authentication flow for our trading platform API."
* "What endpoints are available for user account management?"
* "How should a developer handle a 401 Unauthorized error?"
4. Once your model is set up, you interact with it in the **Personalized Chat Screen**. Key elements include:
* **Sidebar** — Create new models, personas, or chat sessions, and access Feedback and Symi Beta.
* **Top Right dropdown** — Shows and switches your active model.
* **Chat Input** — Type your prompt and use the **Web**, **Dev**, and **Image** toggles to enhance your query. Select a persona from the **None** dropdown, or enable **Advanced Mode** for greater control.
Sample prompts to get started:
* "Explain the authentication flow for our trading platform API."
* "What endpoints are available for user account management?"
* "How should a developer handle a 401 Unauthorized error?"
 ## Next steps
Explore what else is possible with 4MINDS.
Discover the full range of 4MINDS Control Center functionality
Learn how to fine-tune models using Hugging Face datasets like FinQA
## Next steps
Explore what else is possible with 4MINDS.
Discover the full range of 4MINDS Control Center functionality
Learn how to fine-tune models using Hugging Face datasets like FinQA