

Dataset and model relationships
Understanding how datasets connect to models is important when planning your data architecture:- One model is connected to one dataset. A model cannot be connected to multiple datasets simultaneously, including at inference time. If you need a model to work with different data, train a separate model on that dataset.
- One dataset can be connected to multiple models. You can reuse the same dataset across multiple models — for example, to train variants with different base models or personas.
Supported File Types
The 4MINDS platform accepts the following file formats for dataset uploads:- Text files (.txt) - Plain text documents
- Markdown files (.md) - Formatted text documents with markup
- CSV files (.csv) - Comma-separated value spreadsheets
- JSON files (.json) - Structured data in JSON format
- Parquet files (.parquet) - Columnar storage format (not supported for Hugging Face imports)
- PDF files (.pdf) - Portable document format files
- Word documents (.docx) - Microsoft Word documents
- Excel spreadsheets (.xlsx) - Microsoft Excel workbooks
- JPEG images (.jpg, .jpeg) - Compressed image files
- PNG images (.png) - Portable network graphics
- GIF images (.gif) - Graphics interchange format
- BMP images (.bmp) - Bitmap image files
- TIFF images (.tiff) - Tagged image file format
- ZIP archives - Compressed folders containing multiple files
Automatic OCR Processing
The 4MINDS platform automatically extracts text from images and scanned documents using built-in Optical Character Recognition (OCR). This feature works seamlessly across all base models, no configuration required. When OCR is used:- PDF files with scanned or non-selectable text
- Image files (JPG, PNG, TIFF, BMP, GIF) containing text
- Documents with embedded images
- Works with any base model you select for inline tuning
- No manual configuration needed
- Seamlessly integrated into the data processing pipeline
OCR accuracy depends on image quality and resolution. For best results, use clear, high-resolution scans.
Upload Size Limit
- You can upload up to 100 MB of data at a time. This applies to single files, multiple files, or integration datasets. A progress bar will display the total upload size.
- To upload more data, simply reopen the dataset and upload the next 100 MB batch.
There is no limit on the overall dataset size, only on each individual upload batch.
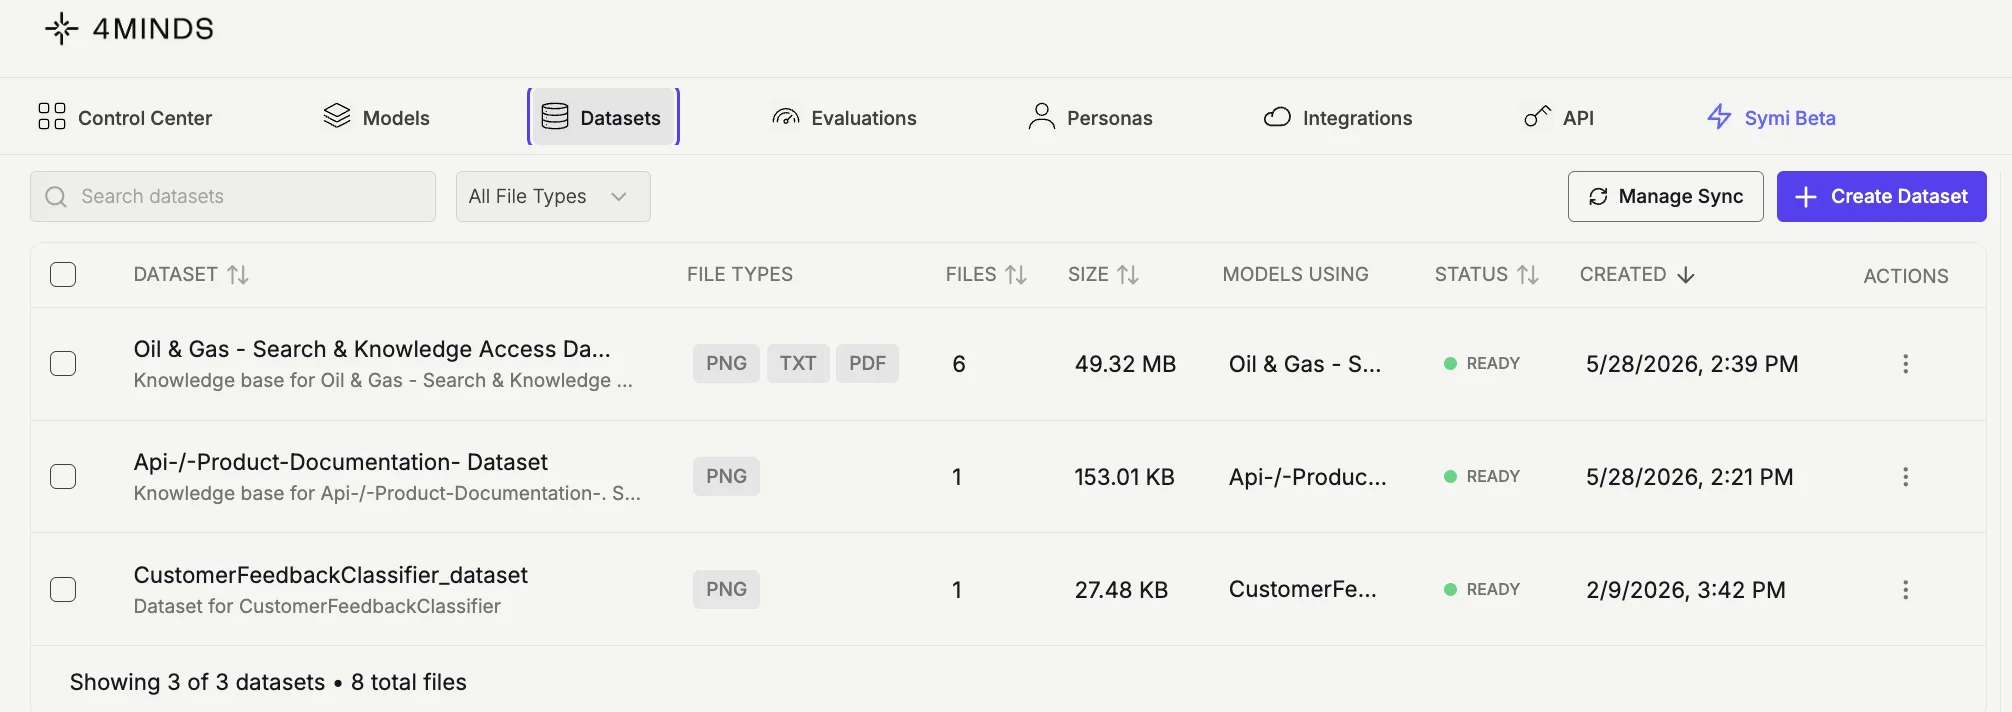
Adding Data to Existing Datasets
As your business evolves, your model’s knowledge needs to evolve with it. Adding new data to existing datasets keeps your AI current and effective without starting from scratch.Why Continuous Data Updates Matter
Maintain accuracy - Product features change, policies update, and new edge cases emerge. Without fresh data, your model provides outdated information that frustrates users and erodes trust. Capture new patterns - Each customer interaction reveals new ways people describe problems, ask questions, or use your product. Adding these examples helps your model understand diverse communication styles. Improve coverage - Initial training datasets rarely cover every scenario. As you discover gaps in your model’s knowledge, you can fill them by adding targeted data. Adapt to business changes - New products, services, pricing models, or support processes require corresponding updates to your training data.How to Add New Data
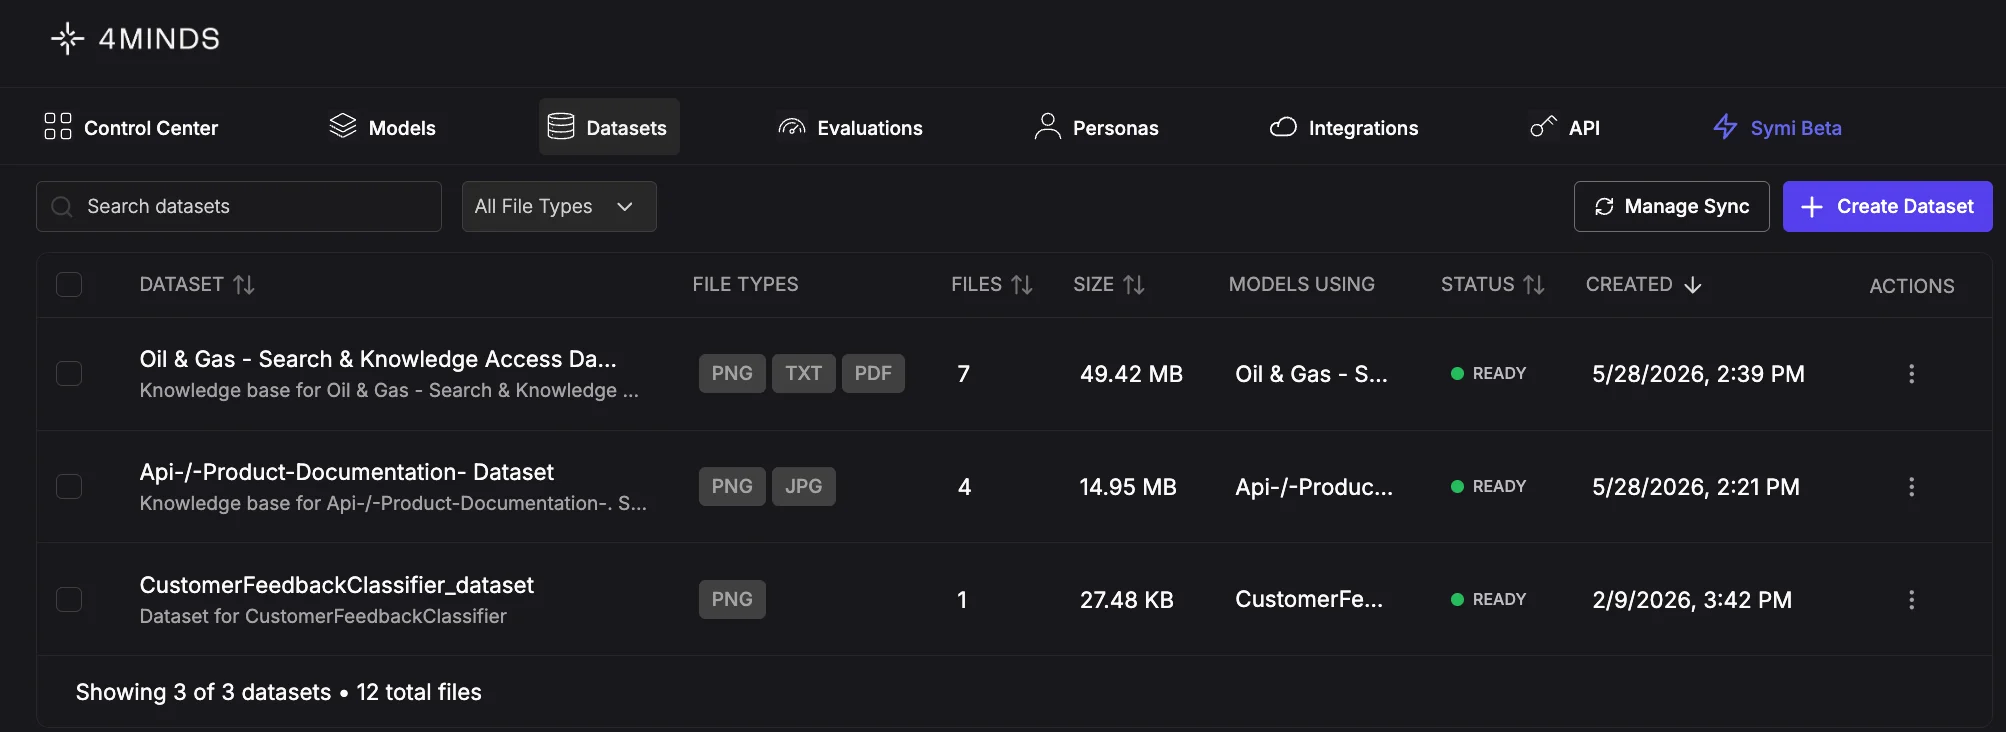
From the Datasets tab
- Go to the Datasets tab
- Find the dataset you want to update and click the ⋮ menu on the right
- Select Edit


- In the Edit Dataset panel (Step 1 of 3 — Setup), update the name, description, or tags as needed, then click Add Data


- On the Upload Data step (Step 2 of 3), choose your source — Upload, Integrations, or URL — and add your files


- Click Next to proceed to the Review & Update step (Step 3 of 3), where you can confirm your changes


- Click Update Dataset to save
From the Model tab
- Navigate to Models tab
- Select the model you want to update with additional data.
- Click the three-dot menu (⋮) in the Actions column for the model you want to update with additional data.
- Click the Add Training Data button in the shortcuts section


- Click Add More Data
- Choose your data source: Upload Files, Integrations, or URL
- Upload your new data based on the selected source
- The data is processed and added to your model’s knowledge graph automatically
From the Control Center
- Open your model in the Control Center
- Navigate to Training Data tab in the Quick Action panel
- Click Add Data


- Click Add More Data
- Choose your data source: Upload Files, Integrations, or URL
- Upload your new data based on the selected source
- The data is processed and added to your model’s knowledge graph automatically
New data is automatically integrated into your existing knowledge graph. Nodes and edges update to reflect the new information without disrupting existing knowledge structures.
Best practices for Data Updates
Batch related data together - When creating a dataset, upload related documents together in the same batch rather than dumping unrelated data all at once. Data uploaded together produces stronger graph connections, resulting in richer knowledge structures and better model performance. Add incrementally - Rather than waiting to upload large batches, add new data regularly as it becomes available. This keeps your model current and makes it easier to track what information was added when. Document your updates - Keep notes on what data you added and why. This helps you understand model behavior changes and plan future updates. Test after updates - Use the Inference Model feature to verify that new data is being used correctly and hasn’t introduced conflicts with existing knowledge. Mix data types - When adding new information, include multiple formats when possible. For example, if you’re adding a new product feature, include documentation (PDF), example support tickets (CSV), and screenshots (images). Retrain when needed - After significant data additions, retrain your model to fully integrate the new knowledge. Minor updates may not require retraining, but substantial changes benefit from it.Building Comprehensive Datasets
Training an effective AI model requires more than uploading a single file type. Just as you wouldn’t hire a customer support agent and only give them a product manual, your model needs diverse perspectives and contexts to develop true understanding.Example: Training on Customer Support Excellence
Let’s say you want your model to handle customer support inquiries effectively. Here’s how to structure a robust, multimodal dataset using 4MINDS’ supported formats: Visual understanding (images & screenshots) Upload visual content showing real customer interactions:- Product interfaces - Screenshots of your software, dashboard views, error messages, feature locations
- Troubleshooting visuals - Common configuration issues, installation steps, system architecture diagrams
- Documentation - Annotated screenshots showing workflows, setup guides, integration diagrams
- Error states - What customers see when things go wrong, loading states, failure modes
- Customer-submitted images - Photos of hardware issues, setup problems, packaging damage
- Competitor products - Interface comparisons, feature differences, migration guides
- Product documentation - Technical specifications, API references, user guides, release notes
- Internal knowledge bases - Troubleshooting playbooks, known issues, workaround procedures
- Policy documents - SLA agreements, refund policies, terms of service, data privacy guidelines
- Training materials - Onboarding docs for new support agents, escalation procedures, quality standards
- Industry context - Regulatory compliance guides, security best practices, industry standards
- Best practices - Customer service frameworks, communication guidelines, de-escalation techniques
- Competitive intelligence - How competitors solve similar problems, market positioning, feature comparisons
- Support ticket history - Ticket IDs, timestamps, issue categories, resolution times, customer satisfaction scores
- Customer data - Account types, subscription tiers, usage patterns, feature adoption rates
- Product usage analytics - Most-used features, error rates, session durations, drop-off points
- Response metrics - First response time, resolution time, reopened tickets, escalation rates
- Customer sentiment - NPS scores, CSAT ratings, survey responses, sentiment analysis results
- Seasonal patterns - Ticket volume by time/day/season, spike events, capacity planning data
- Agent performance - Resolution rates, customer satisfaction per agent, specialization areas
- Resolved tickets - Successful interactions showing problem identification and resolution
- Escalated cases - Complex issues requiring multiple touchpoints or specialist involvement
- Edge cases - Unusual requests, policy exceptions, creative problem-solving examples
- Tone variations - Professional responses, empathetic communications, frustrated customer de-escalation
- Multi-channel interactions - Email threads, chat transcripts, phone call summaries, social media responses
- Follow-ups - Post-resolution check-ins, proactive outreach, account management communications
- Call recordings - Customer support calls showing tone, pacing, active listening, problem resolution
- Product demos - Video walkthroughs of features, setup processes, advanced use cases
- Training sessions - Internal workshops, role-playing scenarios, best practice reviews
- Customer feedback sessions - User interviews, usability testing, feature request discussions
- Product roadmap - Upcoming features, deprecation schedules, beta programs
- Billing systems - Invoice examples, pricing tiers, renewal processes, refund workflows
- Integration documentation - Third-party connections, API partnerships, data sync processes
- Company information - Team structure, hours of operation, regional support coverage, contact escalation paths
- Legal & compliance - GDPR requirements, data handling procedures, audit trails, security protocols
Why this Matters
When you combine these diverse data types, your model develops:- Contextual problem-solving that understands not just what the issue is, but why it matters and how it impacts the customer’s business
- Tone awareness from seeing thousands of interactions, knowing when to be technical vs empathetic, formal vs conversational
- Pattern recognition identifying common issues before customers fully describe them, predicting follow-up questions
- Operational intelligence understanding SLAs, escalation paths, when to involve specialists, and business constraints
- Proactive guidance suggesting solutions based on similar past cases, usage patterns, and product knowledge
Tutorial: Fine-Tune a Model with Hugging Face Datasets
This tutorial walks you through importing datasets from Hugging Face to train a custom model in 4MINDS.What you’ll build
By the end of this tutorial, you’ll have a custom model trained on Hugging Face data that can:- Understand domain-specific terminology and concepts
- Extract relevant information from your training data
- Provide accurate, contextual responses to queries in your domain
Prerequisites
- A 4MINDS account with access to the platform
- A Hugging Face account with a generated access token
- Basic understanding of the 4MINDS model creation workflow
Fine-tuning overview
Fine-tuning allows you to customize base models for your specific use case by training them on your own data. The fine-tuning feature enables you to:- Create custom models tailored to your domain (e.g., financial analysis, customer support)
- Train on proprietary datasets to improve accuracy for specific tasks
- Deploy models via API or test them in the interactive Playground
- Monitor performance metrics including response time, token speed, and success rate
Model status types
Base model
Models deployed directly on the 4MINDS platform run ongpt-oss-120b. In-platform base-model selection has been deprecated.
To use other foundation models (Claude, Gemini, Llama, Mistral, etc.), connect them through an external provider integration like Amazon Bedrock, Google Vertex AI, Amazon SageMaker, or Microsoft Foundry.
Training data best practices
- Provide diverse examples – Include variations of similar questions to improve generalization
- Maintain consistency – Use a consistent format and tone across all training samples
- Include edge cases – Add examples of boundary conditions and unusual queries
- Quality over quantity – 500 high-quality examples often outperform 5,000 poor ones
Step 1: Access the data upload screen
During the model creation process (Step 3 of 4), you’ll reach the Data Upload screen. Here you can choose how to provide training data to customize your model.- Under Choose Data Source, ensure the Upload New Data tab is selected
- You have three options under Add Files from Sources:
- Upload Files - Local files from your computer
- Integrations - External data sources
- URL - Import from a web address
- To import from Hugging Face, click the Integrations button
Step 2: Select Hugging Face integration
On the Select Integration screen, you’ll see a list of available data source integrations including Amazon S3, Azure Blob Storage, Google Cloud Storage, and others.- Scroll down and select Hugging Face from the list
If you see “Not configured” next to an integration, you may need to set up credentials first via Configure Integrations at the top of the list.
Step 3: Search for your dataset
The Import from HuggingFace screen allows you to search the Hugging Face Hub for datasets.- Enter your search query in the search bar (e.g., “finQA”)
- Click Search
- Browse the results using the available tabs:
- Popular Datasets – Trending datasets on Hugging Face
- My Datasets – Your personal Hugging Face datasets
- Search Results – Results matching your query
- Dataset name and author
- Description
- Download count
- Size and format
- Task type and modality
Step 4: Configure dataset import settings
On the Dataset Details screen, you can configure import settings for your selected dataset. Review the dataset information:- Name and author
- Description
- Download statistics
- Task IDs, size, and format
- Configuration – Select the dataset configuration (e.g., “Default”)
- Split – Choose which data split to import (e.g., “Test”, “Train”, “Validation”)
Step 5: Review attached files
After importing, you’ll return to the Data Upload screen. Your imported files now appear under Attached Files with details including:- File name
- Source (Hugging Face icon)
- File size
- Row count
relevance.jsonl– 66.68 KB, 341 rowsqueries.jsonl– 137.71 KB, 705 rowscorpus.jsonl– 1.44 MB, 7549 rows
Step 6: Review and launch training
On the Review & Launch screen (Step 4 of 4), verify your configuration summary:
If everything looks correct, click Confirm & Train to start the training process.
Step 7: Monitor training progress
After launching, you’ll be taken to the Models dashboard in Control Center. Your new model will appear in the list with:- Status – “New” badge with “Building Graph” progress indicator
- Parameters – Model size (e.g., 14b)
- Base – Base model used (e.g., Phi)
- Created – Timestamp
Step 8: Test in the Playground
The Playground provides an interactive environment to evaluate your fine-tuned model before deployment. Accessing the Playground:- From the model dashboard, click the ⋮ menu on any model
- Select Run Model
- Or navigate to Control Center → Playground and select your model
- Real-time responses – See model outputs as they generate
- Conversation history – Maintain context across multiple turns
- View Graph – Visualize model reasoning and token flow
- Clear All Chats – Reset the conversation history
- Add Model – Compare multiple models side-by-side
- “What is the ratio of operating income to total revenue?”
- “What is the total of all lease obligations?”
- “What was the percentage change in revenue from 2018 to 2019?”
Model actions
Access these options via the ⋮ menu on any model:API integration
Deploy your fine-tuned model via API for production use. Getting API credentials:- Click ⋮ on your model
- Select API Access
- Copy your API endpoint and authentication token
Performance optimization
Improving response quality:- Add more training data – Expand coverage of your use case
- Refine existing data – Remove low-quality or contradictory examples
- Adjust the persona – Use “Technical Expert” for specialized domains.
- Use an externally connected model when needed – For complex reasoning beyond
gpt-oss-120b, connect a larger or specialized foundation model via Amazon Bedrock, Google Vertex AI, Amazon SageMaker, or Microsoft Foundry.
- Optimize prompt length – Shorter prompts reduce processing time.
- Enable caching – Reuse responses for common queries.
Troubleshooting
FAQs
Q: How long does training take? Training time depends on model size and dataset. Expect 30 minutes to several hours for large models. Q: Can I update a model after deployment? Yes, use “Add Training Data” to incrementally improve your model. Q: What’s the difference between Archive and Delete? Archived models can be restored; deleted models are permanently removed. Q: How many models can I have active? Check your plan limits in the account settings.Supported file formats
4MINDS supports the following file formats for training data from Hugging Face: BMP, CSV, DOCX, GIF, HTML, JPEG, JPG, JSON, JSONL, MD, ODT, PARQUET, PDF, PNG, TIFF, TSV, TXT, XLSX Multiple files are supported per upload.Tips
- Choose appropriate splits – For fine-tuning, you typically want the “Train” split. Use “Test” or “Validation” for evaluation datasets.
- Check dataset size – Larger datasets may take longer to import and process.
- Enable Rsync – If you’re working with frequently updated datasets, enable Rsync to stay current automatically.
Tutorial: Fine-Tune a Model with Hugging Face Datasets via API
This tutorial shows how to fine-tune a 4MINDS model using the FinQA dataset from Hugging Face through the API. Since the API requires manual dataset uploads, you’ll download the dataset from Hugging Face and upload it to 4MINDS.What you’ll build
A custom model trained on financial Q&A data, created entirely through API calls, ideal for automation and CI/CD pipelines.Prerequisites
- A 4MINDS account with API access
- Your API key (found in Account Settings)
- A Hugging Face account with a generated access token
- Python 3.7+ with the
requestsanddatasetslibraries installed
Step 1: Download the FinQA dataset from Hugging Face
First, download the FinQA dataset locally using the Hugging Facedatasets library: